Read Time: 10 minutes |
As one of the top providers of cocktail making classes in Dublin we want to share with you some of our best tips for running your own cocktail making class at home!
| By Cameron Mowat
Painting and Prosecco is so 2018. Cocktail making classes are the new vogue.
The pandemic had an interesting effect on cocktail culture. As people started to crave the drinks that they were used to getting in bars they had to take it upon themselves to start making cocktails at home. Suddenly a huge number of people knew how to make great drinks, at a level never really seen before outside the bar.
Homemade cocktails are still all the rage, with many people looking to get more educated on great recipes and increase the depth and range of their cocktail portfolio. We’ve certainly seen a huge increase in the number of cocktail enthusiasts attending our cocktail making classes in Dublin. They want to take control of their cocktails, often dissatisfied with the standard they sometimes receive in bars these days.
With that in mind, cocktail making classes at home are a great way to get together and learn new skills that everyone can take back to their own homes with them. All you need are a few ingredients, some ice and a few bottles of spirits to get a really fun event going for your friends and family.
Plus you’ll be doing our job for us by raising the bar for drinks knowledge, which we always appreciate!
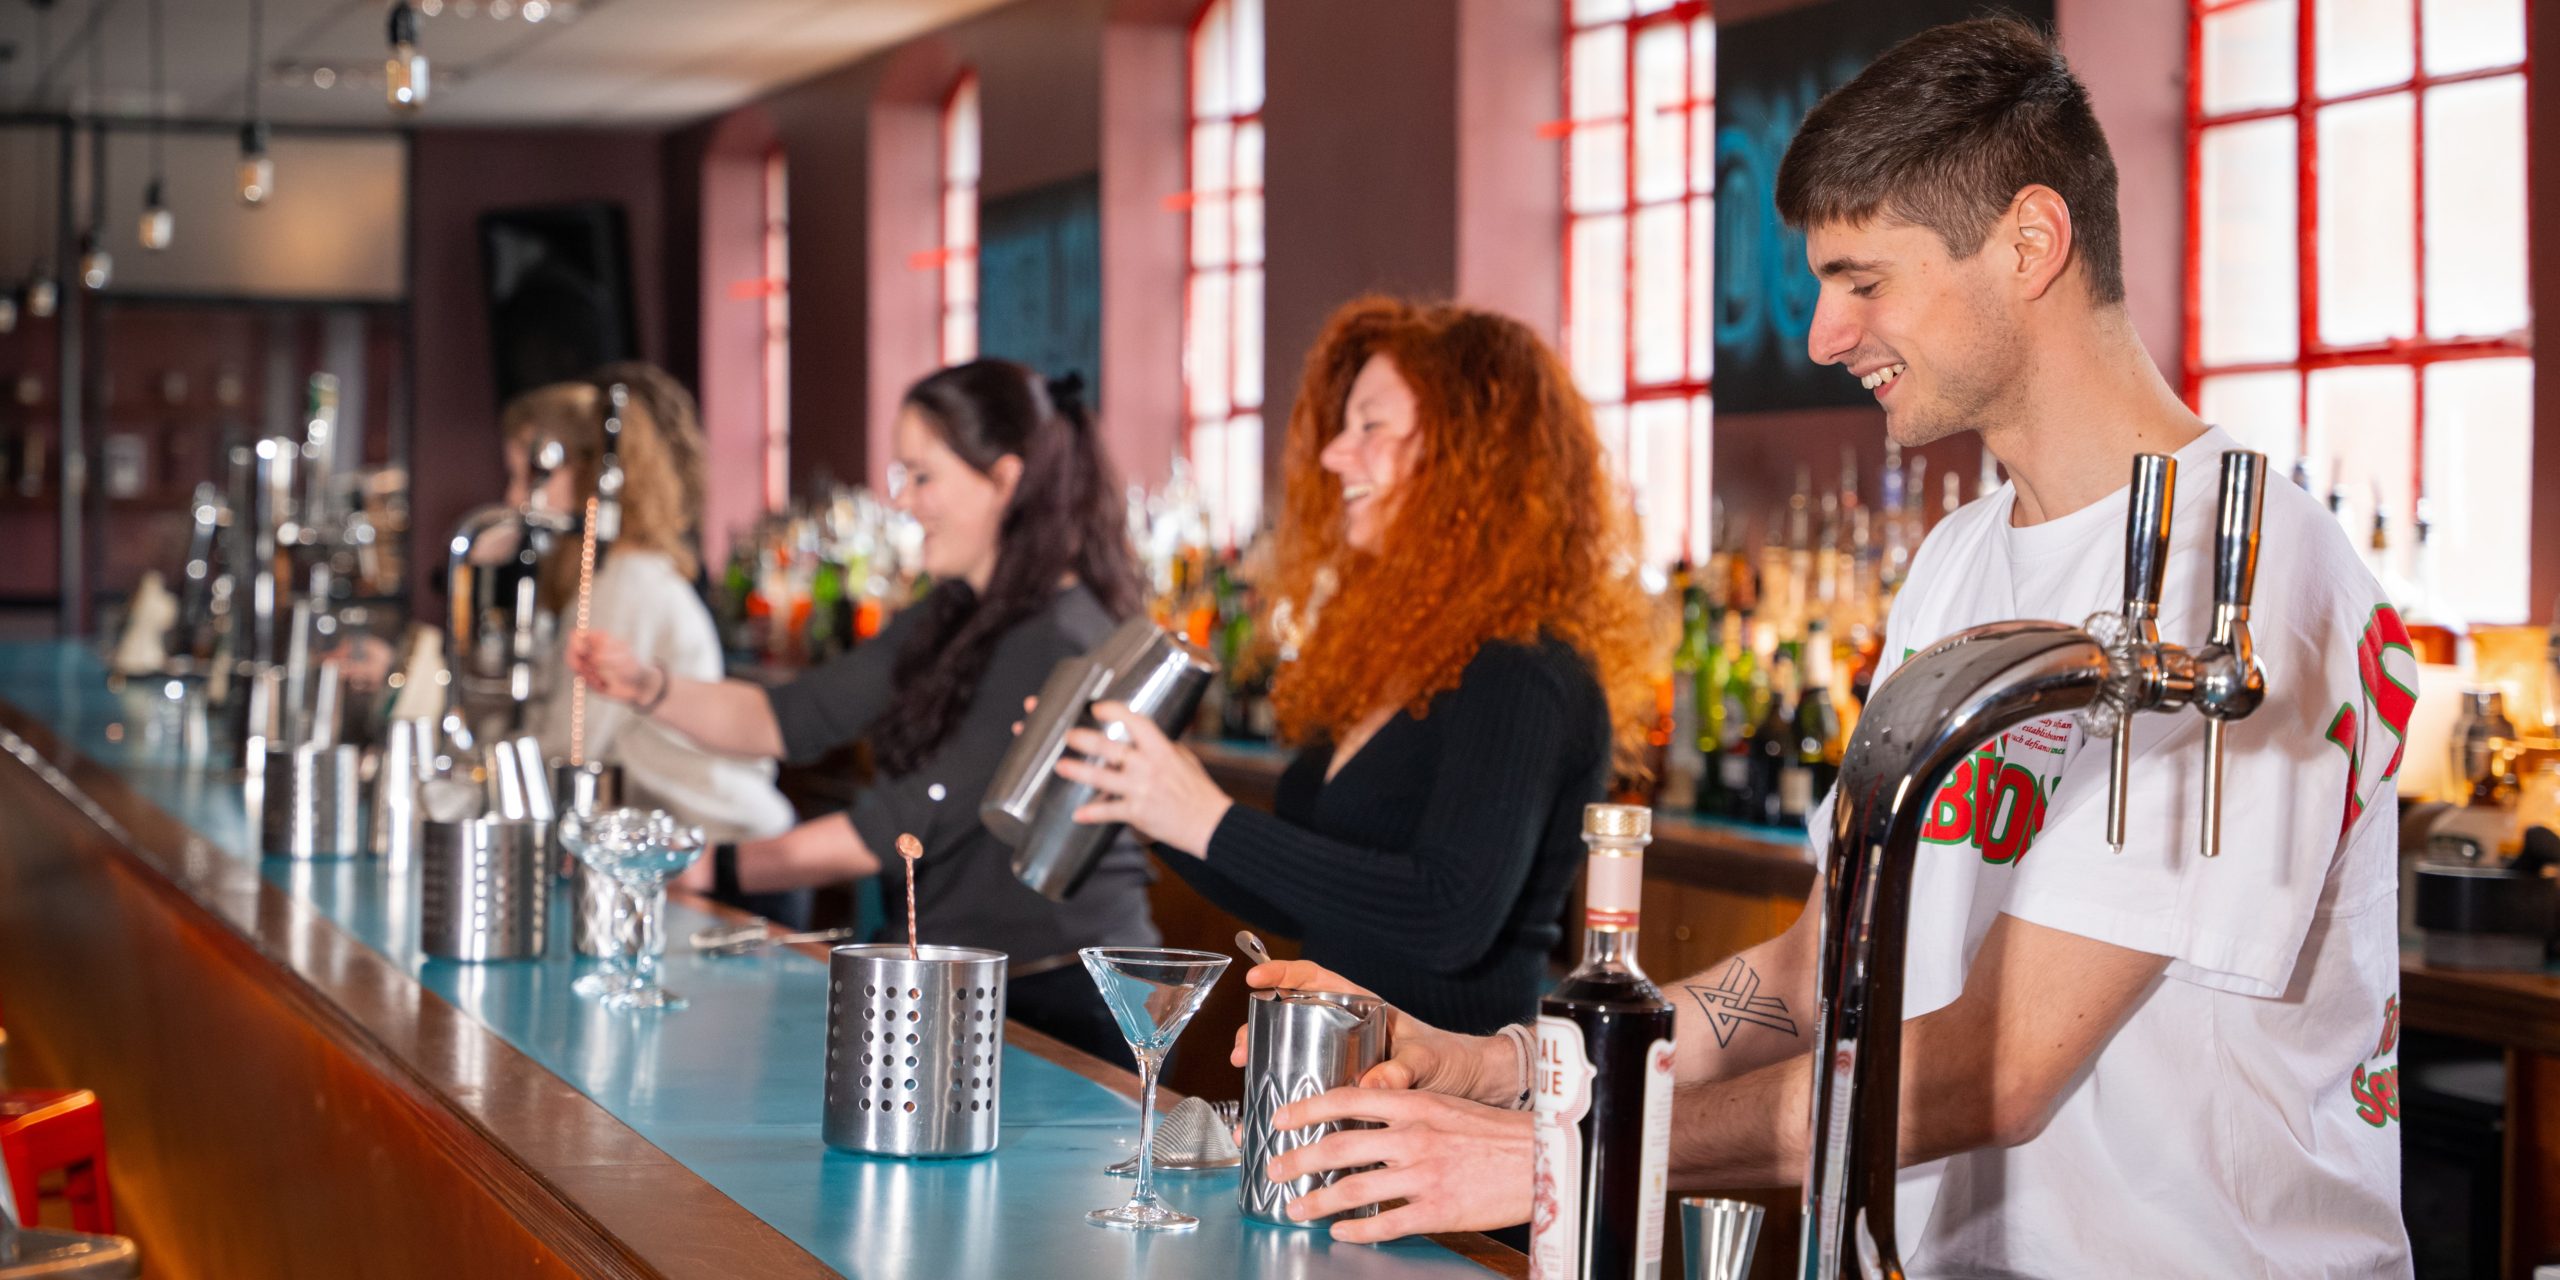
With that in mind let’s jump into the step by step of how to run a flawless cocktail making class at home.
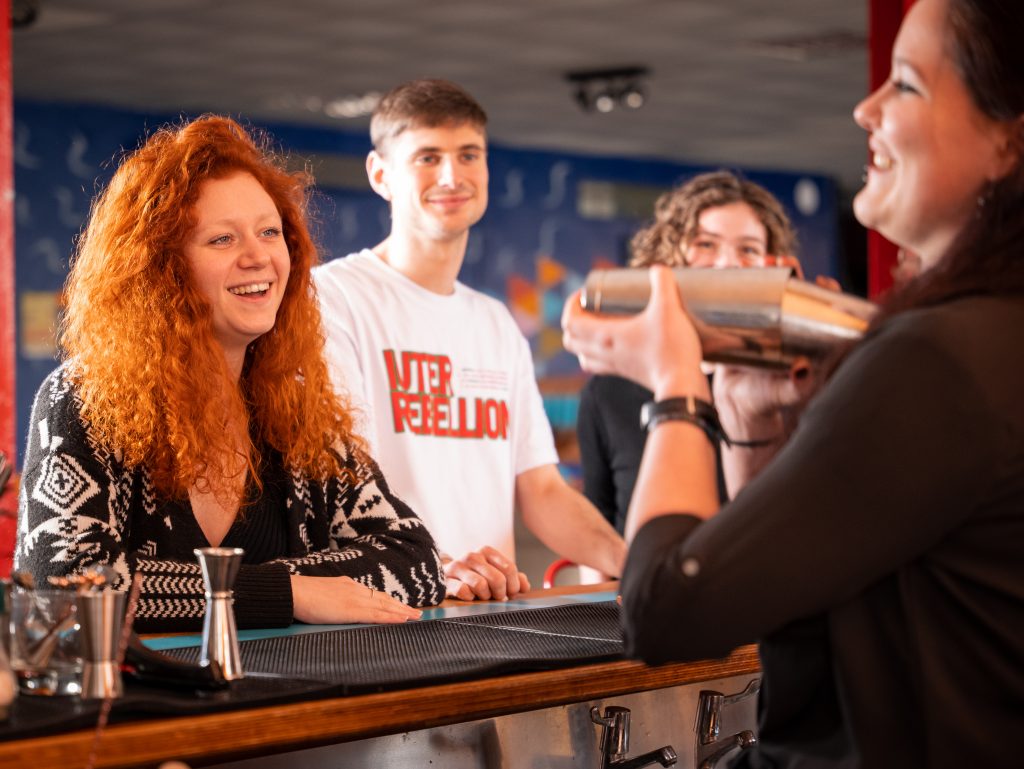
Step 1: Gather your students
Let’s be honest, who isn’t going to want to come to a cocktail party and make a few drinks? Send out your invites and determine the number of people that are going to attend. That’s going to be your first metric for how much and how many ingredients you need to source to make sure there’s enough to go around.
You’ll also want to determine everyone’s preferences! There are loads of ways to go about this: you can send out a list of cocktails they can choose by preference, you can ask them the cocktails they’d like to learn to make or you can go for a more ‘surprise’ approach by doing a sort of flavour survey where they can pick from a list of flavours and flavours types to give you an idea of what to put on the menu.
Finally an important step is to check for allergies, dietary restrictions and non-alcoholic drinkers. These are easy things to overcome, there are loads of gluten free alcohols for example, vegan ‘egg white’ analogs for foam drinks abound and quality non-alcoholic spirits are super easy to source.
Step 2: Plan your cocktails
Once you’ve fielded people’s preferences you can start to design the menu for the cocktail making class. You can’t please everyone but there are ways to work around that by picking a good range of styles and flavours.
For example: some people really don’t vibe with boozy, spirited cocktails like the Old Fashioned and Martini, but some really love that style so it’s good to have just one, with more easy sippers on either side. Some people don’t like sweet drinks, so having a couple of more ‘sour’ focused drinks can keep them happy. Really it’s about having a few ‘common denominator’ drinks and not going overboard with the more niche cocktails.
You also need to decide how many cocktails you want to go through in your cocktail making class. Don’t forget that we’re drinking alcohol here, and cocktails can sneak up on you. Too many will often devolve into chaos (trust us we know from experience). The sweet spot is about 3-4.
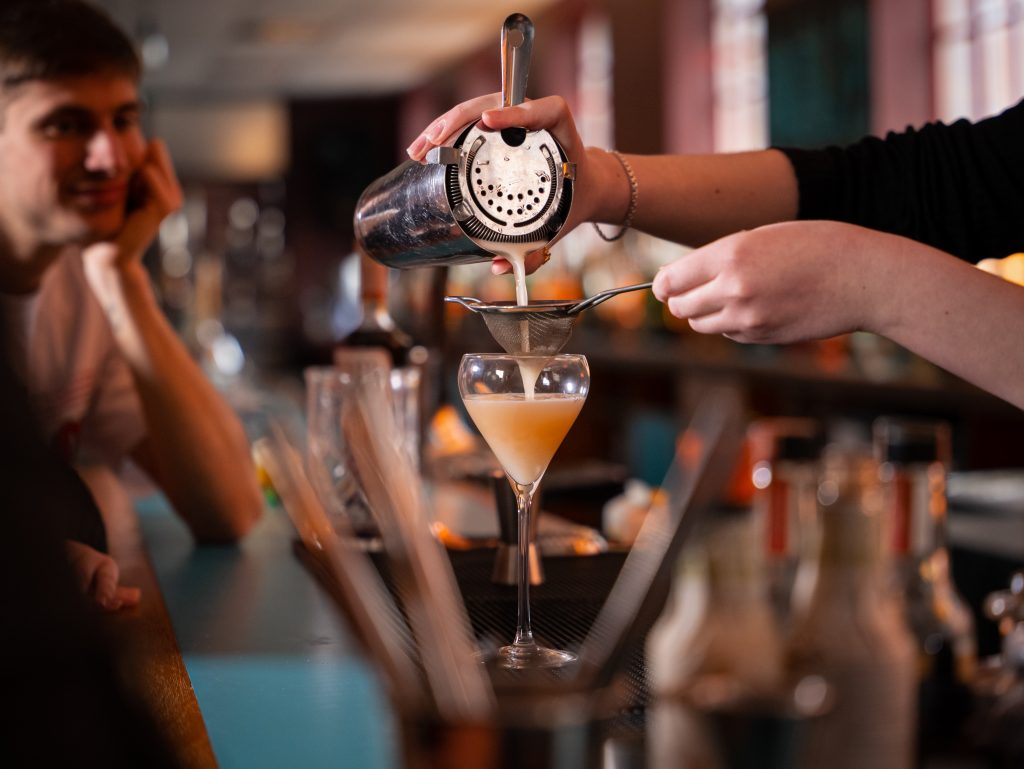
We recommend breaking that up into: a ‘welcome’ drink, one built (made in the glass), one shaken drink and one stirred drink. Using that format you can try out all kinds of cocktails whilst teaching the three main cocktail methods at the same time.
Then you need to decide how you want to serve these drinks. If you have all the correct glassware for each of your cocktails… good for you! Most people don’t have a bunch of coupe glasses on hand though, so a good glass to rely on is the rocks glass. It’s a popular glass for many cocktails and any drink that’s usually served straight up will look just as good in a rocks glass, even over ice. A handful of highballs for a long drink like a Tom Collins or Dark & Stormy can be handy as well.
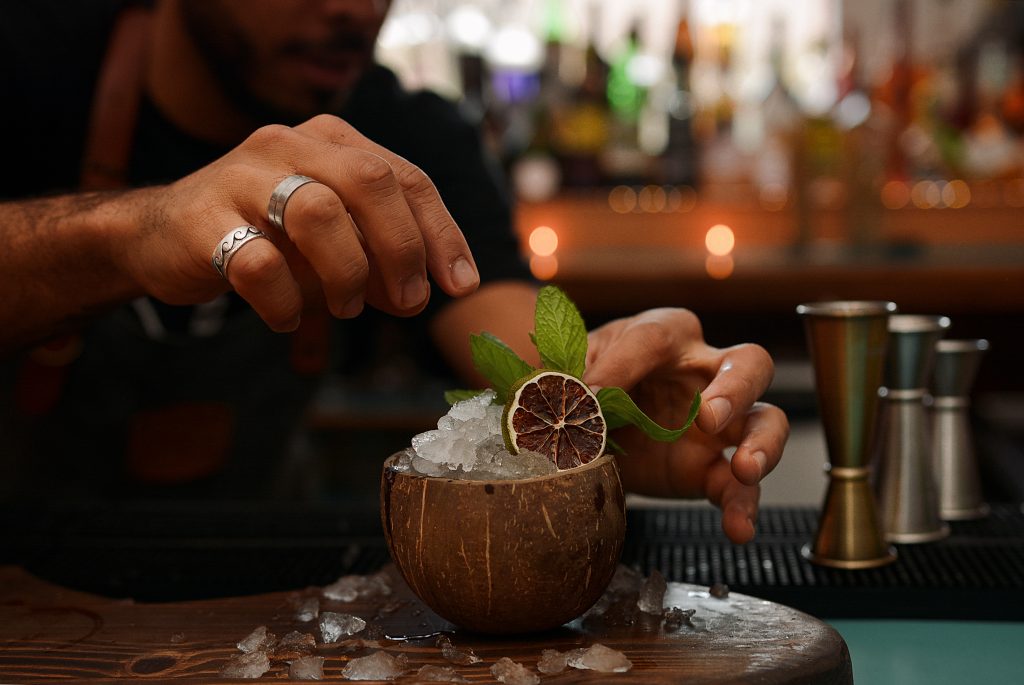
Decide if you want garnishes for your drinks. They go a long way when it comes to presentation and can be a literal cherry on top of a delicious drink. If you do want garnishes then factor those into your shopping list.
Finally work out your specs. There are lots of recipes out there for the classics, it’s up to you to pick (and test if you want to go the extra mile) the ones that you think are best. Once you have the individual recipes you can scale them up to the number of students you have attending your cocktail making class and shop accordingly!
Step 3: Gather your ingredients
It’s time to source the stuff you need! Unless you’re going down a craft cocktail route most things are relatively easy to find.
When buying spirits your budget will determine the ones you pick. Quality is always best but don’t be afraid to go for a cheaper option, after all you might not be selling tickets to make back the money you spend! Don’t forget your non-alcoholic spirits if you have designated drivers or non-drinkers that still want to get involved. Inclusivity is key!
Regardless, unless you’re hosting a cocktail making class for a lot of people you probably won’t need to get much, a 700ml bottle has 14 50ml measures, which is the standard spirit measure for many classic recipes.
If you’re including one or more cocktails with citrus in them, you’ll want to get a good quantity of lemons or limes. Usually it’s our advice that you’ll want to get more than you need, citrus juice is often the limiting factor in cocktail making classes. Something like sugar syrup can easily be replaced with another sweetener, and spirits can be swapped out or mixed with others when they’re getting low. You also never really know how much juice each citrus fruit will give you so it’s better to be safe than sorry.
If you’re doing foam drinks, try and find pasteurised egg white by the bottle as you’ll run through eggs quickly and they also vary in how much white each one will give. Make sure you have some vegan alternatives if your students require it, aquafaba (aka the liquid in a can of chickpeas) is always a good bet. You might even consider just using aquafaba as your foaming agent altogether as it’s a much cheaper and just as effective option.
Please never buy sugar syrup in the shops! It is such a waste of money when it’s so simple to make. Simply add 1.5 parts caster sugar to 1 part boiling water and stir until the sugar dissolves. We like to call that ‘bartender syrup’, it has just the right amount of sweetness and texture.
Some ingredients like coffee, if you’re planning on making Espresso Martinis, are best left until just before because fresh is best. Leave these until last and get them ready just before your cocktail making class begins.
Finally the most important ingredient of all, ice! Again, the more the better when it comes to ice. Running out is the end of the class so keep a good stockpile. If you have a cooler or ice box that’s going to come in handy, otherwise you should clear space for a good few bags in your freezer. No space? Ask yourself, “Do I really need that mince I froze two years ago? Or the ¼ bag of broccoli that has freezer burn?”.
Step 4: Gather your equipment
Contrary to popular opinion you don’t actually need the full range of bartending equipment to host a cocktail making class.
When setting up for the class you usually want to try and make some sort of ‘station’ that your students can work in. At those stations it’s good to have all the kit and glassware that you’ll all need to make your drinks.
If you have access to the classic pieces of kit like shakers, jiggers and strainers or the budget to buy them then more power to you! But there are a lot of different replacements that can be found in the home.
Shakers: Jars are excellent shakers and do the job just fine. If you’re not the sort that keeps their jars you can also things like water bottles that you’d have in the gym or even protein shakers if you have them.
Jiggers: Really all a jigger is is a standard measure. Shot glasses can work as a replacement, just change your specs to suit them e.g. 1 shot of spirit, 1 half shot of citrus, 1 quarter shot of sugar syrup (bonus points if you can guess the cocktail this recipe might be for).
Strainers: If you’re using jars you can use the lid to strain the liquid out, or you can use something like a kitchen sieve to replace the classic hawthorne strainer.
Glassware is the last thing you need to gather together. Set them up next to your stations and the other kit you have. One per cocktail should do fine and maybe have some replacements in case breaks (inevitably) happen.
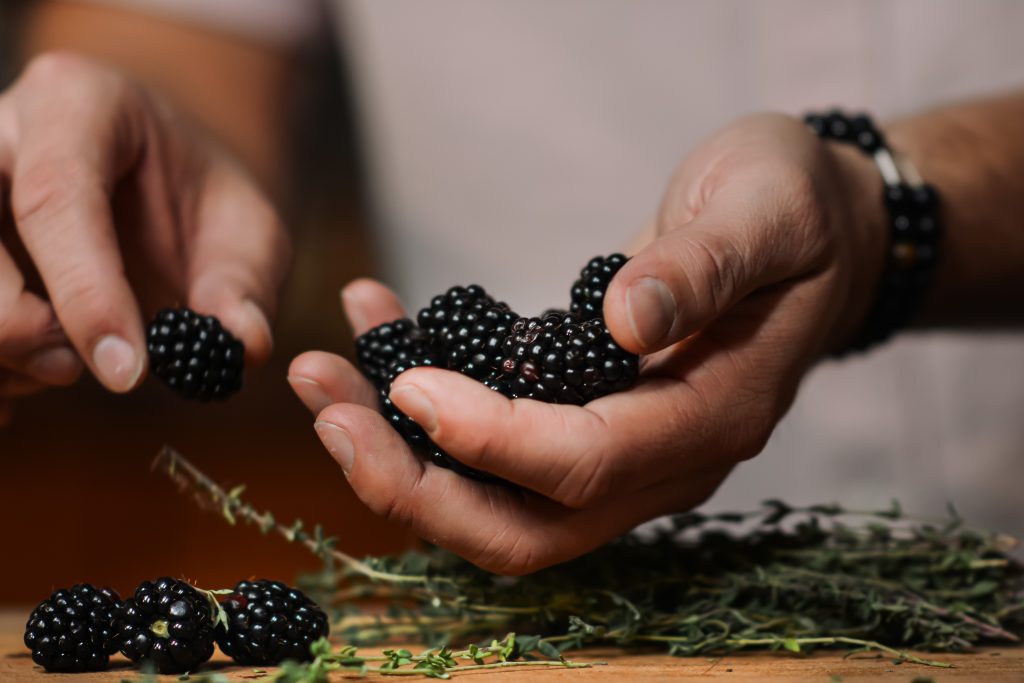
Step 5: Prep your ingredients
Take it from us, citrus is a nightmare to squeeze during the cocktail making class. Try and get this done beforehand and give everyone a container with what they need (and a little more just in case). A normal juicer or electric juicer will give you way more yield than hand squeezing. Pro tip: roll the fruit and then blitz it in the microwave for 5 – 10 seconds and you’ll get the maximum juice from each fruit.
Where possible, divide all the basic ingredients like citrus, sugar, foaming agents, juices and whatever else you’re using except for the spirits into containers of some sort like jars or jugs. If you’re loaded with different jars then everyone can have their own but you can always take it in turns to pour different ingredients at the time or share between a couple of stations.
Ice buckets are always a plus but who has a wealth of them at home? One collective ice bucket can do the job when people need to ice up their shakers and glasses. We’d advise you to try and keep the ice in the freezer for as long as possible so it stays fresh for longer.
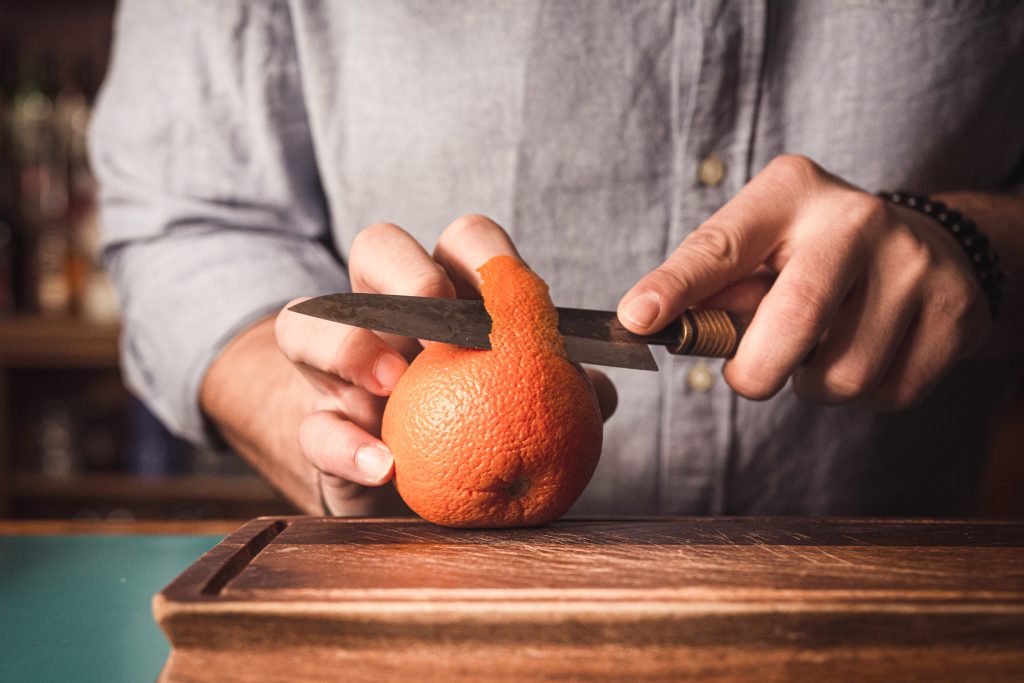
Prep your garnishes as late as possible, especially if you’re using zests or similar fresh fruit that will look, smell and taste their best this way.
For you, the teacher of the cocktail making class, it’s always handy to have a cheat sheet of all the cocktail recipes and methods on hand for you to refer back to. Unless of course your mind is a steel trap in which case you’re good to go.
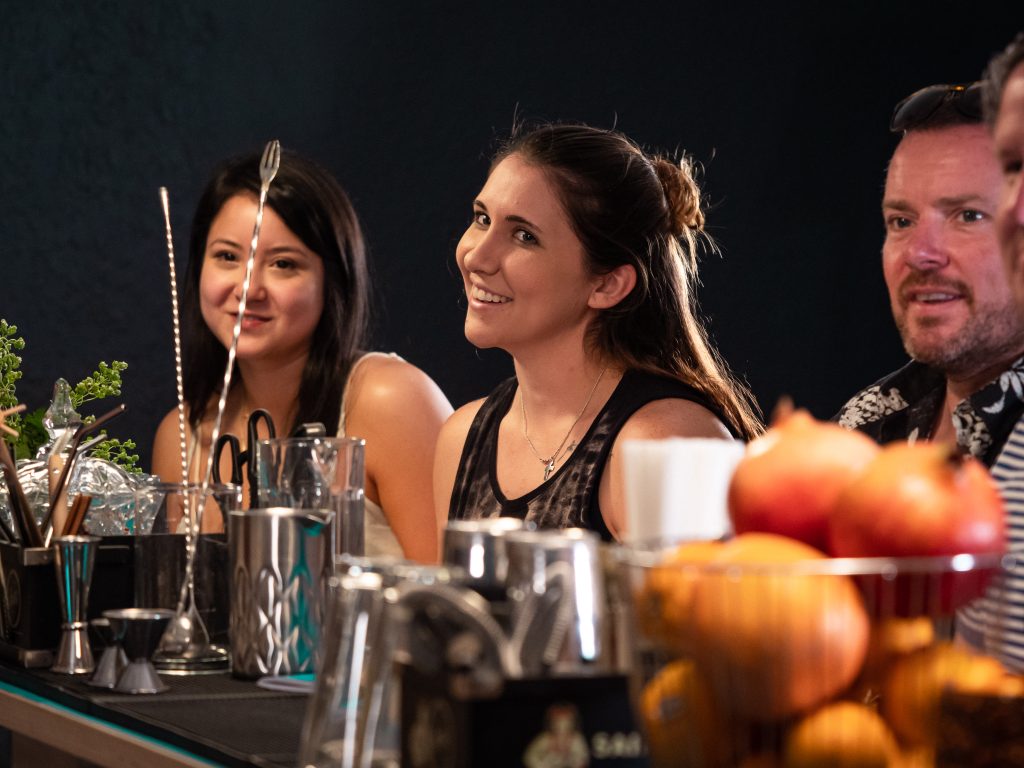
Step 6: Welcome your students
We mentioned before that a ‘welcome drink’ is a good drink to have worked into the class. This always loosens people up and gets them in the mood to start making drinks. Something simple that you can make in a big batch beforehand and simply pour over ice always works, or the traditional punch bowl goes down well.
Explain how the class is going to go to your student, introduce the menu to everyone and you’re ready to get started!
Step 7: Start making cocktails
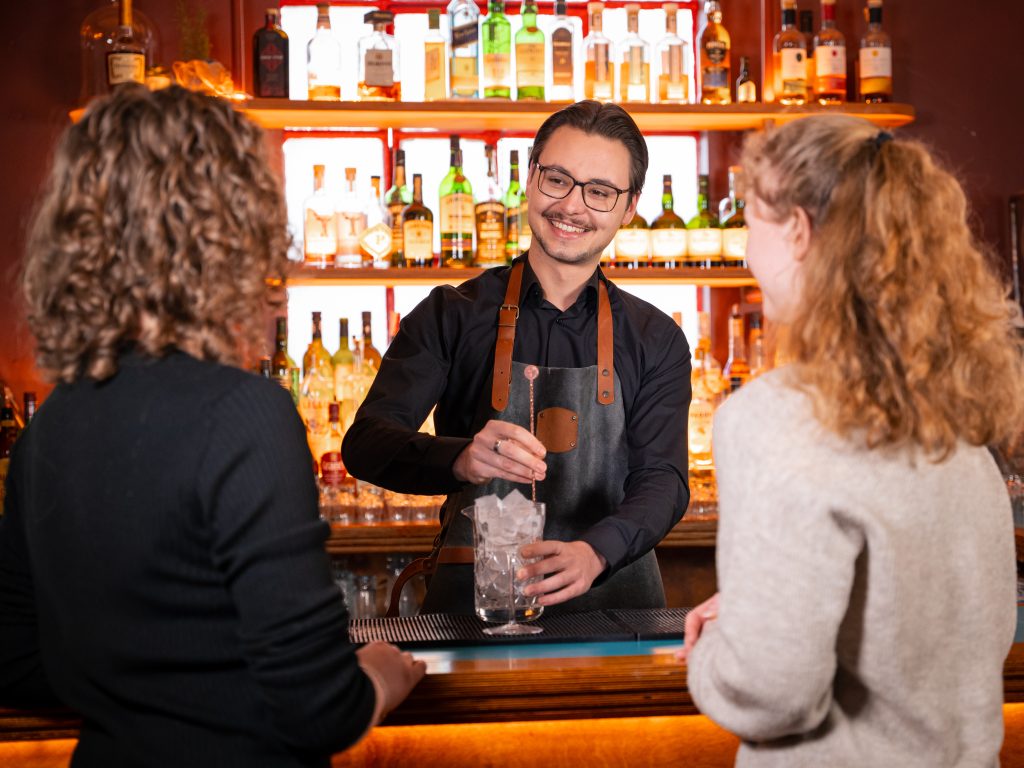
A watchful eye is key for events like a cocktail making class!
You don’t want someone to make the cocktail wrong and make something undrinkable that they don’t enjoy after making it. Of course mistakes are all part of the process but keeping an eye out for someone making them can help a lot.
You can either demonstrate first and then walk your students through the process or just jump straight in and make it at the same time, each way has its advantages and disadvantages.
We also highly recommend taking a break between each cocktail to let your students taste their creations and compare between each other. Plus cocktail making classes are naturally social events so that aspect shouldn’t be forgotten about!
Nibbles are great to have on hand to keep people fed, soak up some of the alcohol and keep people away from drunkenness which can throw off the whole process. Food is a perfect and often necessary companion to events with alcohol and will keep the party going for everyone.
When it comes to the actual schedule of drinks it’s totally up to you. Here’s one that we tend to go for based on our experience. Start with an easy sipper like a Dark & Stormy to get people in the mood, easy not just in flavour but in the process. It’s nice for people to make something easy so as to shake off any nerves at not knowing the methods. The middle drink is usually where we slot in the boozier drinks like Old Fashioneds, mostly because if it’s not to everyones taste they won’t be starting off or finishing with a drink they don’t enjoy. Finally we tend to go for the fun and bold flavoured drink at the end to finish on an exciting high note.
Once you’ve got through a few drinks everyone should be nicely tipsy and comfortable with the process, so finish strong and pat yourself on the back for a cocktail making class well done!
Step 8: Relax and enjoy your drinks together
Once you’ve all completed the final drink it’s a great time to do a fast clean and organise everything together to get the space looking nice again and save you some time later on.
But now that you’ve successfully hosted a cocktail making class at home you should relax and enjoy a drink yourself. Maybe you can let one of your more confident students make you a drink and show off their skills to the rest of the class.
Now it’s time to spend some time with your students, be they friends or family or people that just wanted to take one of your classes. Good job!
Or if you don’t feel like going through the hassle of organising it yourself why not come in for one of our cocktail making courses? At our Dublin Academy we run corporate events for team building using a similar structure as the one above, plus a range of weekend and evening cocktail courses where we go in depth into all things cocktail culture!